
In this article· 10 sections
- 01What central kitchen management actually covers
- 02Step 1: Collect outlet indents against a fixed cut-off
- 03Step 2: Consolidate indents into one production plan
- 04Step 3: Turn the plan into a raw material list
- 05Step 4: Schedule production around shelf life and equipment
- 06Step 5: Record batches, label them and transfer first-expiry, first-out
- 07Step 6: Cost each batch and charge it to the outlet
- 08Step 7: Review yield and wastage every week
- 09Common central kitchen management mistakes
- 10How Parchika helps run a central kitchen
Once a restaurant chain passes three or four outlets, the same questions come up every evening. How much base sauce do we make tonight? Who asked for extra marinated chicken? Why did Outlet 3 run out of dough at 8 pm while Outlet 1 threw some away?
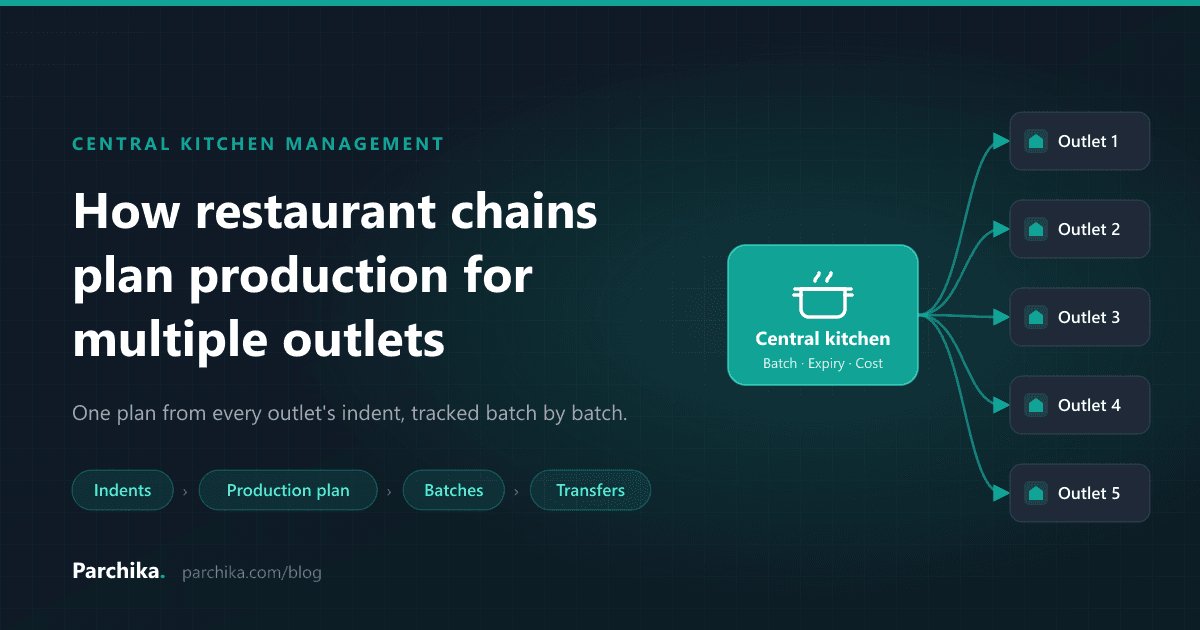
Central kitchen management is the discipline of answering those questions with a process instead of phone calls. In this guide you will learn how a central kitchen turns outlet requests into one production plan, how to check raw materials before cooking, how to batch, label and transfer stock, and how to charge every item back to the outlet that used it. A worked example with five outlets runs through each step.
What central kitchen management actually covers
A central kitchen (also called a commissary or base kitchen) prepares food for several outlets rather than for customers. It typically makes base gravies, sauces, marinades, doughs, desserts and pre-portioned items in bulk. Outlets then finish and serve them.
Managing it well means running the same loop every day:
- Collect what each outlet needs (indents or requisitions).
- Consolidate the requests and subtract finished stock you already hold.
- Plan raw materials from standard recipes and spot shortfalls.
- Produce in batches with a batch number, production date and expiry.
- Transfer batches to outlets so they use the oldest stock first.
- Cost every batch and charge it to the receiving outlet.
- Review yield and wastage so tomorrow's plan is better than today's.
Skip any step and the problems show up elsewhere: shortages, inconsistent taste, spoilage or a food cost nobody can explain. The rest of this guide takes each step in order.
Step 1: Collect outlet indents against a fixed cut-off
Everything starts with demand. Each outlet manager raises an indent (a stock request) for the next day or shift, listing semi-finished items by unit: kilograms of sauce, portions of marinated protein, trays of dough.
Three rules make this step reliable:
- One channel. Indents that arrive on WhatsApp, by phone and on paper cannot be added up quickly. Use one form or system for every outlet.
- One cut-off time. For example, all indents by 6 pm for next-morning delivery. Late requests go into the next cycle unless a manager approves them.
- Indent from data, not memory. Outlet managers should look at yesterday's sales, their current stock and any large bookings before they order. A manager who indents "the usual" every day is how over-production starts.
Step 2: Consolidate indents into one production plan
Once the cut-off passes, the central kitchen adds up every outlet's request and subtracts finished stock it already holds that is still within shelf life. The difference is what to cook.
Here is a worked example for a chain with five outlets. The numbers are illustrative, but the method is the one most central kitchens use.
At a glance
Example: tomorrow's production plan for five outlets
Total requested by outlets, minus usable stock already in the central kitchen
| Feature | Requested by outlets | Already in stock | To produce |
|---|---|---|---|
| Base tomato sauce | 36 kg (8 + 6 + 10 + 5 + 7) | 6 kg | 30 kg |
| Marinated chicken | 56 kg (12 + 10 + 15 + 8 + 11) | 0 kg | 56 kg |
| Pizza dough | 35 kg (9 + 0 + 12 + 6 + 8) | 5 kg | 30 kg |
| Chocolate brownie trays | 14 trays | 4 trays | 10 trays |
Two details matter here. First, only count stock that will still be within shelf life when the outlet uses it. Six kilograms of sauce that expires tomorrow morning is not really available for tomorrow evening's service. Second, add a small buffer only where a shortage would hurt service, such as dough on a weekend. A buffer on every item is just planned wastage.
Step 3: Turn the plan into a raw material list
A production plan is only useful if the ingredients are in the store. This is where standard recipes, also called a bill of materials (BOM), come in. A BOM lists the raw materials and quantities needed to produce a fixed yield, including expected cooking or process loss.
Continuing the example, suppose the standard recipe for base tomato sauce yields 10 kg of finished sauce from:
- 9 kg tomatoes
- 2 kg onions
- 0.5 kg oil
- 0.3 kg garlic
- 0.2 kg spices
That is 12 kg of input for 10 kg of output, so the recipe already allows for about 17% loss during cooking. To make 30 kg, multiply every line by 3: 27 kg tomatoes, 6 kg onions, 1.5 kg oil, 0.9 kg garlic and 0.6 kg spices.
Now compare that list with stock. If the store holds only 20 kg of tomatoes, you are 7 kg short, and you know it the evening before rather than at 6 am with the pots already on the burner. Raise a purchase order immediately, or cut the sauce plan and tell the outlets.
Sub-recipes matter too. A pizza dough might use a pre-ferment, and a curry might use a base gravy that is itself a recipe. Your raw material calculation must drill through every level, otherwise flour or tomatoes inside a sub-recipe will be missed.
Step 4: Schedule production around shelf life and equipment
With materials confirmed, decide the order of production. A simple rule of thumb:
- Long-cooking and long-life items first. Base gravies and sauces that need hours on the stove and keep for a few days.
- Items that need resting or proving next. Doughs and marinated proteins.
- Short-life items last. Anything with the shortest shelf life should be produced closest to dispatch.
Also check equipment capacity. If your tilting kettle holds 40 kg, a 56 kg chicken marinade plan is two batches, not one. Planning batches around real equipment avoids the half-filled or overfilled pot that changes taste.
Step 5: Record batches, label them and transfer first-expiry, first-out
Every production run should become a batch with:
- A batch number
- The production date
- Planned quantity and actual yield
- An expiry date based on the item's shelf life
Print the batch number and expiry on the label of every container. When the batch goes out, the transfer to each outlet should carry the same batch details. Outlets then use stock first-expiry, first-out (FEFO), and near-expiry items are visible before they spoil.
Batch records also protect you. If a customer complains about a dish at Outlet 4, you can trace it back to the batch, the production date and the raw materials used, and check whether other outlets received the same batch.
Step 6: Cost each batch and charge it to the outlet
Many chains treat the central kitchen as an overhead. The result is that every outlet's food cost looks better than it really is, and nobody can tell which outlet is actually profitable.
The fix is batch costing. Cost each batch from the raw materials actually consumed, then divide by the actual yield to get a cost per unit. For example, if the raw materials for the 30 kg sauce batch cost 96 (in your currency) and the batch yields 28.5 kg, the cost is about 3.37 per kg. When Outlet 3 receives 10 kg, it is charged about 33.70, and that amount flows into its food cost.
Do this for every item and you can finally compare outlets fairly. If you are still working out recipe costs by hand, the free food cost calculator is a quick way to check the numbers for individual dishes.
Step 7: Review yield and wastage every week
The example above already shows a gap: the plan said 30 kg of sauce, the batch produced 28.5 kg. That 5% difference is yield variance. Small variances are normal. Consistent ones mean the recipe, the equipment or the process needs attention.
Each week, review:
- Yield variance by item. Which items regularly come in below plan?
- Wastage with reasons. Expired, burnt, spilled, quality rejected. A reason code turns a vague "we waste a lot" into a fixable list.
- Outlet over-ordering. Compare what each outlet indented with what it sold. An outlet that indents 20% more than it uses is creating waste at the outlet instead of the central kitchen.
- Shortages. Which items ran out at outlets, and was the cause the indent, the production plan or a raw material shortfall?
For the outlet side of this, a regular stock count routine helps a lot. Our guide to restaurant stock counts covers how to run one.
Common central kitchen management mistakes
- Planning from gut feel. Producing "about the same as yesterday" ignores weekends, holidays and bookings.
- Recipes in a notebook. If the recipe changes between cooks, taste changes between outlets, and your raw material calculation is wrong.
- No batch labels. Unlabelled tubs at outlets are the main reason old stock is thrown away while new stock is used.
- Ignoring transfer cost. Without charging outlets at batch cost, central kitchen spending stays invisible.
- Spreadsheets that do not talk to each other. Indents in one sheet, recipes in another and stock in a third means someone re-types numbers every night, and errors creep in.
How Parchika helps run a central kitchen
Parchika central kitchen software connects the whole loop to each outlet's POS:
- Outlets raise requisitions in Parchika, and the central kitchen sees them combined into one production plan, alongside sales history and finished-goods stock.
- Standard recipes with multi-level BOM (including sub-recipes such as base gravies and doughs) work out the exact raw materials needed and flag shortfalls before cooking starts. Shortfalls can go straight into a purchase order.
- Each batch is recorded with batch number, production date, planned quantity and actual yield, and raw materials are deducted automatically when it is completed.
- Transfers keep batch number and expiry, so outlets can use stock first-expiry, first-out and see near-expiry alerts.
- Batch and transfer costing charges each outlet at batch cost, so outlet food cost includes everything the central kitchen supplied.
- Yield and wastage variance is recorded for every batch with reason codes.
Central kitchen and multi-outlet production are available on Parchika Enterprise plans. If you also need menus, stock and sales for every outlet in one dashboard, see multi-outlet POS software, or read more on the central kitchen management page.
Run your central kitchen and outlets in one system
Turn outlet requisitions into one production plan, track every batch and cost transfers to each outlet.
Still have questions?
Frequently asked questions
What is central kitchen management?
Central kitchen management is the process of running one production kitchen that supplies several outlets. It covers collecting outlet indents, planning production, checking raw materials, producing in batches, transferring stock and costing it back to each outlet.
How many outlets do you need before a central kitchen makes sense?
Many chains start considering one at three or more outlets, or when several brands run from one hub. At that point preparing bases, sauces and doughs centrally usually gives more consistent taste and better bulk buying, but it only pays off if planning and transfers are tracked properly.
What is the difference between an indent and a purchase order?
An indent (or requisition) is an internal request from an outlet to the central kitchen for prepared items. A purchase order is an external order from the central kitchen to a supplier for raw materials. Indents drive the production plan; shortfalls in that plan drive purchase orders.
How do you calculate how much a central kitchen should produce?
Add up every outlet's indent for each item, subtract usable finished stock already in the central kitchen, and produce the difference. Only count stock that will still be within shelf life when the outlet uses it.
How should central kitchen items be costed to outlets?
Cost each batch from the raw materials actually used and divide by the actual yield to get a cost per unit. Charge each outlet that unit cost for the quantity it receives, so central kitchen items appear in the outlet's food cost.
Written by
Parchika POS
POS Software Experts
The Parchika team of restaurant and retail technology specialists fact-checks and curates industry best practices.